Visual Studio Code Install and Setup
Install Visual Studio Code (VS Code), add the extensions you need for Python, and apply a few settings that make learning easier.
Step-01: What You Will Learn
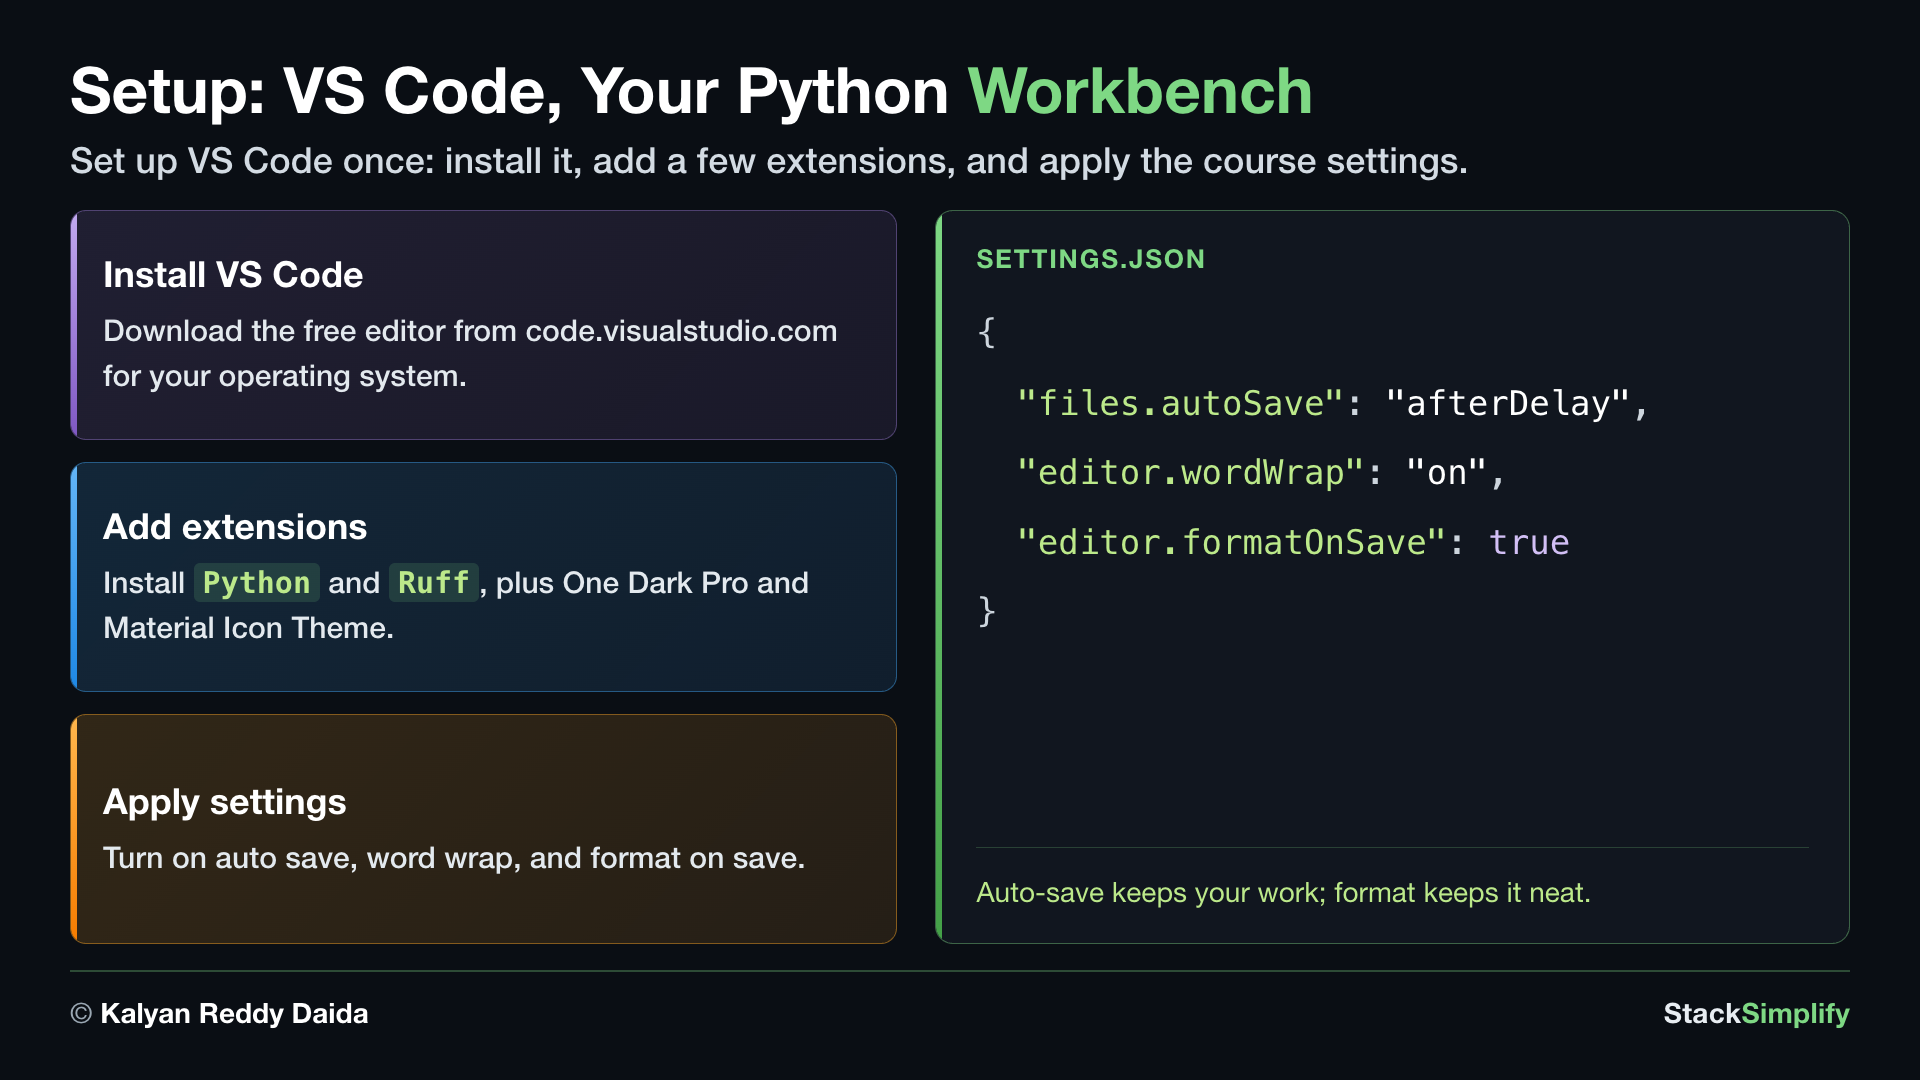
In this lesson you will:
- Install VS Code on your operating system (macOS, Windows, or Linux).
- Install the Python extensions and a few helpful add-ons (a theme, file icons, and Ruff).
- Turn on the color theme and file icons.
- Apply the VS Code settings we use throughout the course.
Step-02: Install VS Code
Do the step for your operating system. The extension and settings steps later are the same on every OS.
- Download VS Code from code.visualstudio.com.
- Double-click the downloaded file (example:
VSCode-darwin-universal.dmg). - Drag Visual Studio Code into the Applications folder.
- Press
Cmd + Spaceto open Spotlight, type Visual Studio Code, and press Enter to open it. - You should see the Welcome tab.
- For more help, see the official macOS install guide.
- Download VS Code from code.visualstudio.com.
- Double-click the downloaded file to start the installer.
- During installation, make sure these options are checked:
- Add "Open with Code" to the Windows Explorer file context menu
- Add "Open with Code" to the Windows Explorer directory context menu
- Register Code as an editor for supported file types
- Add to PATH
- Open Visual Studio Code and confirm it starts.
- You should see the Welcome tab.
- For more help, see the official Windows install guide.
- VS Code is available for most Linux distributions (Debian/Ubuntu
.deb, Red Hat/Fedora.rpm, and Snap). - Follow the official Linux install guide for your distribution.
Step-03: Install the VS Code Extensions
Extensions add features to VS Code. To install one, click the Extensions icon in the left sidebar, search for the extension by name, and click Install.
Tip: Always check the publisher before installing, so you get the official extension. For example, Python should be built by Microsoft.
Install these four extensions:
| S.No | Extension | Built by | Why we install it |
|---|---|---|---|
| 1 | Python | Microsoft | Core Python support: run and debug code, pick your Python interpreter, and get autocomplete and error checking. The must-have extension. |
| 2 | One Dark Pro | binaryify | A clean, popular dark color theme that is comfortable to read. |
| 3 | Material Icon Theme | Philipp Kief | Clear, colored icons per file type, so you can tell .py, .md, .yaml, and folders apart at a glance. |
| 4 | Ruff | Astral Software | A very fast Python linter and formatter. It underlines mistakes as you type and can tidy your code formatting. |
When you install the Python extension, it brings these along automatically:
| S.No | Bundled with Python | What it does |
|---|---|---|
| 1 | Pylance | The engine behind autocomplete, type hints, and go-to-definition. |
| 2 | Python Debugger | Set breakpoints and step through your code to find bugs. |
| 3 | Python Environments | Create and manage virtual environments and packages from the UI. |
After installing, turn on the theme and icons. Installing them does not switch them on. You select them through the Command Palette, which is how you run any command in VS Code.
- Color theme: press
Cmd + Shift + P(macOS) orCtrl + Shift + P(Windows/Linux), typeColor Theme, select Preferences: Color Theme, then choose One Dark Pro Darker (or One Dark Pro for the lighter default). - File icons: press
Cmd + Shift + P(orCtrl + Shift + P), typeFile Icon Theme, select Preferences: File Icon Theme, then choose Material Icon Theme.
Note: Ruff starts checking your code as soon as it is installed, so you will see underlines on mistakes right away. We will turn on automatic formatting in a later lesson.
Step-04: Update Important VS Code Settings
Open Settings with Cmd + , (macOS) or Ctrl + , (Windows/Linux). For each row below, type the search text in the settings search box, then set the value shown.
| S.No | Search for | Set it to | Why we need it |
|---|---|---|---|
| 1 | tree indent | 20 | More space between nested folders in the sidebar, so the project structure is easy to read. |
| 2 | word wrap | on | Long lines wrap onto the next line instead of scrolling off the right edge, so you never miss code. |
| 3 | auto save | afterDelay | Saves your file automatically a second after you stop typing, so you never lose changes or forget to save. |
Note: Auto Save is off by default, so this one really does need changing. Leave the Auto Save Delay at its default (1000 ms).